Getting Started
Creating your account
How to sign up and set up your AutoAFK profile.
Head to the AutoAFK sign-in page to get started. You can create an account using either Google or Discord, whichever you'd rather keep tied to your bots. We don't support email/password accounts, this keeps your login secure and means there's nothing extra for you to remember or lose.
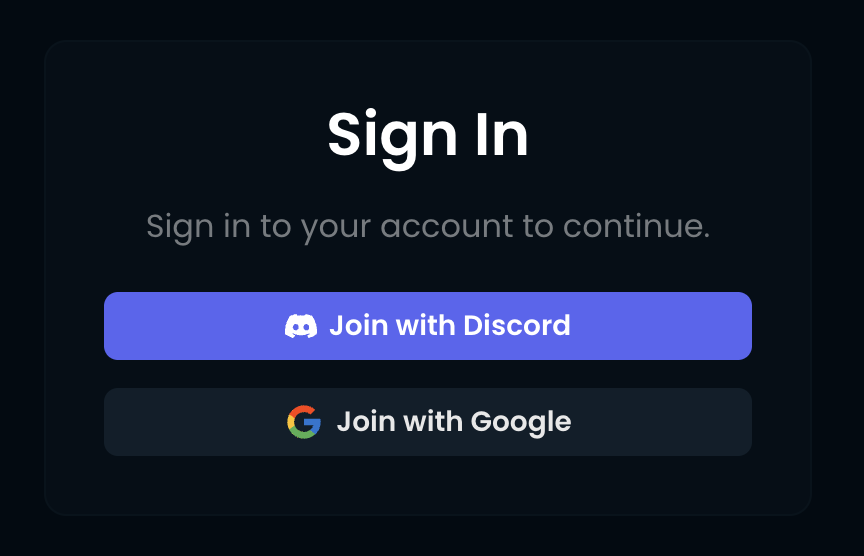
Clicking either option takes you through that provider's own OAuth flow in a popup or redirect, you'll approve the connection there, not on AutoAFK. We never see or store your Google or Discord password, and you can revoke access from your provider's account settings at any time.
Setting up your profile
Once signed in, you'll land straight on your dashboard, there's no separate onboarding wizard to click through. A profile is created for you automatically using the name and avatar from whichever provider you signed in with, and it's ready to use immediately.
If you'd like to change how your profile looks or update its details, open the Profile page from the sidebar. Changes there save instantly and don't affect your linked sign-in provider.
Choosing your language
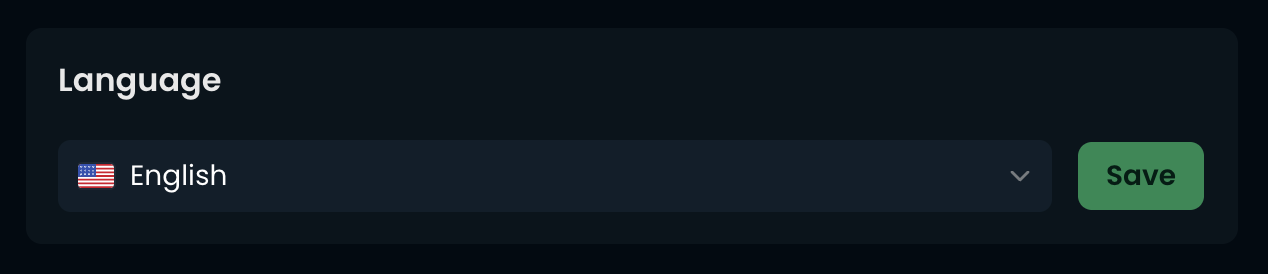
AutoAFK is available in several languages. You can set yours from the Profile page under the Language section, pick your preferred language from the dropdown and press Save. The whole dashboard, including emails and notifications, will switch to match.
What's next
With your account created, the next step is linking a Minecraft account so you have something to AFK with, you'll find that guide under Related articles below.
